
Happy Friday, folks.
Well, this is a post I never thought I'd do. First and foremost, I am most definitely NO expert on photography. I took a class one time, right after getting my DSLR and let's just say I don't remember a damn thing.
However, I have practiced for the past few years and I think I've gotten fairly decent at snapping a some great shots of my kiddos.
Lately I've gotten lots of questions about how I take my photographs and applications used to edit. I started to answer people individually and then thought it'd be quicker and easier to write up a quick post sharing my favorite photography items.

First and foremost, the BEST AND MOST IMPORTANT advice I can give you all is to invest in a DSLR. It's one of the things I'd grab if my house ever caught on fire, along with my children of course.

I did a bunch of research and decided on a Canon Rebel T5. It was hands down the most affordable option as well as being super user friendly for a non-tech savvy Mom like myself. Listen, I will never discount the quality of iPhone photos because they can be pretty amazing, however you just can't beat the pixels that a DSLR provides, especially if you plan to have canvas'es or larger prints made from your pictures.
I purchased my camera on a Black Friday special, so it came with two lenses. Honestly, I've only ever used one of them, the one pictured below. It can take great photos and is super easy to zoom in and out when needed. Also, the Rebel's have a "CA" shooting mode which blurs out the background of your photos automatically if you have your subjects positioned correctly.

However, I have to say the lens below is my absolute FAVORITE to shoot with, the 50 mm. Our family photographer, Rachel, introduced me to this bad boy and I may never look back. This lens was only $99 and the photos it produces are worth every cent!


As you can see, it's also quite small so it makes carrying around your camera that much easier.


Now, as far as editing applications I use, I only use one. It's called AfterLight.
Honestly, the DSLR takes such amazing photos that I don't have to edit much, if at all. I mostly use AfterLight to edit my iPhone pictures.


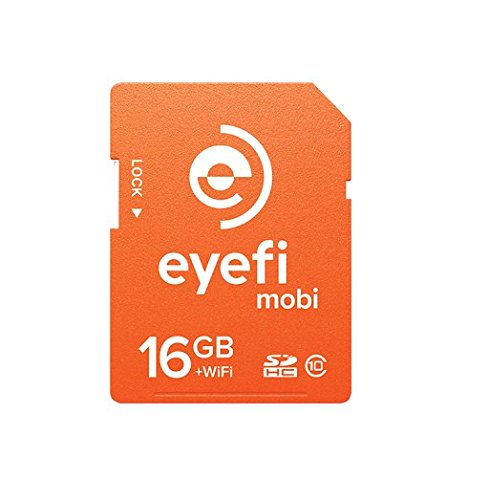
Another tool I can't live without is my EyeFi Mobi card. It's the memory card inside my DSLR that allows me to port over photos from my camera to my iPhone within a few seconds.
I ensure my iPhone is connecting to the same wifi that the camera is using, then click on an app called Keenai (see above) and your new pictures automatically begin porting over to your phone. This allows me to use my DSLR much more frequently than I normally would, because I can share the pictures on my different social media channel almost immediately!
Just for fun...let's do a comparison of one of my iPhone pics to one from my DSLR.


And as always--please feel free to reach out if you have any questions I didn't answer above.
Have a great weekend!
No comments :
Post a Comment